
We've all been on the back foot in a squash rally, game, or even an entire match, however, that doesn't necessarily mean that you're going to lose!
It's often about playing styles rather than standard.
You might be playing an opponent who takes balls early and applies a lot of pace to keep the pressure on. These matches can feel frantic and rushed from start to finish, even if you win!
Another example is playing someone who goes for a lot of winners. These matches can feel like you're constantly playing catch up to reset and get back into position again and again.
However, being able to play an effective defensive game is a key skill in squash, and, it can even give you a big advantage over your opponent's if you're able to neutralise their biggest strength.
So, in this article, I'm going to go through some of the most important defensive skills in the game that you should incorporate into your training and game plan. These are some of the different defensive strategies and tactics that you can deploy to get back in the rally and even switch to attack mode.
I'll also include a few drills near the end so you can practice them!
Let's dive in...
Using Height To Reset The Rally
Starting with the most obvious way to defend and reset when you're under a lot of pressure in a rally, the lob is one of your best friends.
The lob can work wonders for allowing you to recover back to the T from the front of the court in particular.
A well-executed lob, whether played straight or cross-court, forces your opponent to have to wait for the ball to drop before playing their next shot (rather than volleying), giving you valuable time to recover back to the T.
The key to a good lob is getting enough height to take the volley completely out of the equation, if your opponent can attack it early, the shot has failed in its primary purpose.
From the front of the court, a lob is a great way to neutralize an opponent who has you under pressure after an attacking drop, boast, or kill.
If you're going cross-court, make sure to get enough width to make it impossible to volley (without hitting the ball out, of course), and enough depth to reach the back corner.
A straight lob just needs to be tight, however, it should be noted that the straight lob is a bit riskier in my opinion as, if you hit it too tight, it is likely to skid against the wall above the line and go out. Just something to be wary of!
But, getting your lift right, you not only give yourself time but also put your opponent in an awkward position deep in the back corner.
Lifting the ball isn’t just effective from the front, it’s also an essential skill when defending from the back of the court too.
When under pressure in the back corners, a high, deep lift allows you to reset and regain control rather than forcing a weak straight drive or a risky boast.
The ideal lift from the back should travel with enough height and depth to land near the back wall, ideally fading into the sidewall so that it "dies" in the corner, landing side wall, then the floor, before hitting the back wall.
This kind of shot can completely take the pressure off and even put your opponent in a difficult position if they misjudge the bounce. Just make sure that you hit it with enough pace for the ball to actually reach the back corner, it sometimes takes more power than you think to lift a ball high from the back of the court.
I'd say that a general rule of thumb is that it’s always better to be too deep than too short. Even if the ball clips the back wall first and bounces out, it still forces your opponent to play a defensive return rather than an attacking volley and gives you that crucial time you need to reset and recover back to the T.
If your lob doesn't get enough depth and lands around the mid-court area, it invites your opponent to step forward and take it early, keeping you on the back foot.
The key is to visualize your target area deep in the back corner and make sure you use enough height to get the ball there.
At the highest level, the best players use lifts under pressure to not only reset but also to regain control of the rally.
You’ll often see the pros using perfectly weighted lobs to escape tight situations, get back to the T, and recompose, forcing their opponent into the deep back corners in the process.
Even from the back, top pros will lift the ball rather than play a forced drive when they’re under extreme pressure, using height to turn defence into a neutral or even offensive position.
Mastering height isn’t just about survival, it’s about giving yourself time, space, and the ability to get back on the front foot in a rally.
Using the Boast to Buy Time
The boast is a versatile defensive shot that can give you much-needed time to recover to the T and reset the rally, and, it's also my favourite shot in squash, so I was excited to write this section...
The boast is particularly useful when you’re under pressure in the back corners, and, one of the first steps when it comes to understanding the boast is knowing the differences, benefits, and risks between two-wall and three-wall boasts.
A two-wall boast is often seen as more of an attacking shot, however, that's not always the case. You can absolutely play a two wall boast to defend against pressure.
Let's say your opponent is attacking with a lot of pace, cutting your shots off, and taking the ball early, one of the best ways to throw them off their rhythm can be to throw in a sudden, hard, low two-wall boast.
If you play it accurately, which would involve the ball bouncing twice before hitting the third wall, they will have to scramble to reach it and this may put them on the back foot.
However, I would also stress that going for the two-wall boast when you're under a lot of pressure can be quite risky. It's a very hard shot to execute well, especially if you don't have much time to play it.
If you under-hit it, it'll bounce out into the middle and give your opponent an easy opportunity to attack. If you overhit it, it'll hit the floor late and bounce up high off of the side wall, giving your opponent tons of time and, you guessed it, an easy opportunity to attack.
Both of those situations take a heck of a lot of time away from you, since the two-wall boast is hit with more power, you won't be giving yourself lots of time to get back to the T and recover, which is kind of what we're focusing on this week!
So, depending on your standard, I'd say that the three-wall boast is your best friend when it comes to playing defensively.
This boast is particularly important if you're in a deeper defensive position in the back corner.
Of course, it’s essential to be precise with this shot, however, I think the risk is slightly lower because, unlike the two-wall boast, the three-wall boast is often played softer and takes a heck of a lot longer to travel, hit all three walls, then finally bounce, giving you a great amount of time to get back into position.
Yes, your opponent's next shot is likely to be good, but you'll be on the T and ready to move into any corner with ease.
There is a more attacking version of the three-wall boast that you sometimes see from advanced and professional-level players, however, it involves hitting with a lot of power and aiming for a rolling nick, which is very tough to do!
So, for now, just stick to lifting it a little higher and making sure it hits all three walls to give you maximum time to recover.
With that said, the three-wall boast is by no means an amateur shot. Professionals use it all the time to recover after being pinned in the back corners, it just takes practice to get closer and closer to that nick.
The Counter Drop: A Smart Defensive Option
The counter drop is one of the most effective defensive shots in squash because it gives you the opportunity to very quickly neutralize an aggressive opponent’s attack and even get yourself on the front foot again.
Unlike other defensive options, the counter drop allows you to keep the pace off the ball and place it softly into the front corners, forcing your opponent to scramble.
If executed well, it can quickly shift the momentum in your favour and put pressure back on your opponent.
The key to a successful counter drop lies in your timing and positioning.
After your opponent plays their drop shot, you need to move quickly and practively into the front of the court, positioning yourself to intercept the ball as early as possible.
If your opponent has you under a lot of pressure through use of pace, perhaps the ball will be hot and may bounce up a little more than usual, or, you can hope that your opponent's drop isn't accurate since they're playing a fast style of game.
This allows you to return a well-placed counter drop, which forces your opponent to change direction, making them have to stop on their tracks on the way back to the T and move into the front again.
A well-executed counter drop also forces your opponent to make an uncomfortable movement and get into an uncomfortable position, requiring them to scramble and reset quickly, while you take control of the rally.
Knowing when to play a counter drop versus when to lift the ball is also critical.
If the drop shot from your opponent is too tight or low, lifting the ball might be a safer option to reset the rally. Remember, this newsletter is about staying in the rally, so we still want to keep risk to a minimum!
A lift gives you more time to recover to the T and forces your opponent to work harder.
However, if your opponent's drop shot is loose, or too hard, or if you anticipate it ahead of time, a counter drop is the perfect choice. It catches them off guard and takes advantage of the space they've left open in the front corners.
Common errors with the counter drop typically stem from poor timing or overuse.
One of the most common mistakes is not taking the ball early enough. The success of the counter drop relies on getting to the ball quickly and hitting it before it bounces too high.
Waiting too long or trying to be deceptive with a hold just adds more risk while you're under pressure, and allows your opponent to recover and get back into the rally, negating the effectiveness of the shot.
Additionally, the counter drop is a shot that works best when used sparingly.
If you rely on it too often after every drop shot, your opponent will quickly begin to anticipate it and adjust their movements accordingly.
You want to stay as unpredictable as possible, so only using the counter drop occasionally keeps your opponent on their toes and maintains the element of surprise.
The last mistake I want to touch on is being too aggressive with the shot.
Because the counter drop is played under pressure, it’s easy to get carried away and aim for the perfect nick or hit it too hard in an attempt to get it to die quicker.
The key is precision and accuracy rather than trying to make an impossible winner.
Aim for a safe, well-placed counter drop that forces your opponent to scramble, rather than going for a risky shot that could end up leaving you vulnerable. Just because they get to it doesn't mean it was the wrong shot.
Again, we're trying to keep you in the rally and get your opponent on the back foot if possible!
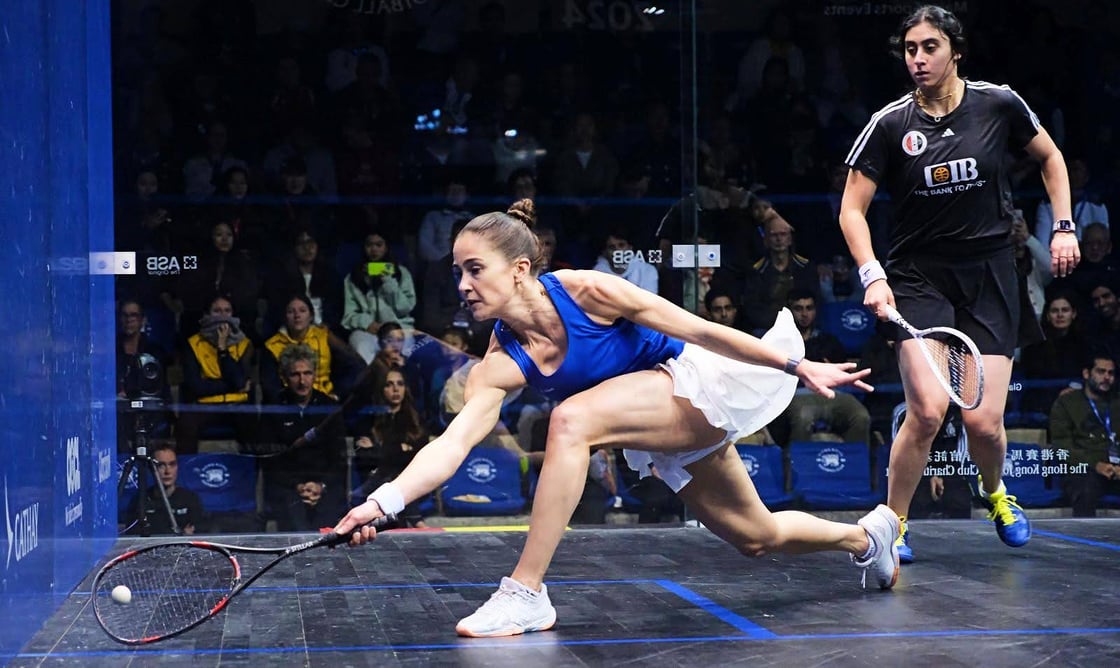
Image credit: Steve Cubbins
Adding Pace to Disrupt Your Opponent
While pace is often associated with attacking play, injecting pace into a defensive situation can be a highly effective way to disrupt your opponent’s rhythm and accuracy, especially when you're on the backfoot.
When you're forced to play defensively, most players naturally resort to lifting or floating the ball to buy time, which is usually the best approach, however, if that's not working, why not try adding pace to your shots instead?
It can be a great way to catch your opponent off guard and make it harder for them to control their attacks.
By driving and crosscourt driving the ball with increased pace, you're forcing your opponent to adjust and react, rather than allowing them to dictate the pace on their own terms, often leading to errors or weaker responses.
A faster ball is harder to read and control.
Instead of simply lifting the ball with no direction or purpose, injecting pace forces your opponent to deal with a more aggressive shot that they may struggle to return cleanly, especially if they are expecting a more typical defensive lift.
The speed of the ball limits their options, reduces the time they have to set up their own attack, and gives you a chance to regain control of the rally.
When considering whether to inject pace or to simply float the ball, it’s crucial to evaluate the situation thoroughly.
If you’re pinned at the back of the court with little opportunity to advance, lifting the ball may seem like the only option to reset the rally.
However, if you feel like your opponent is in a position where they are expecting a softer shot (e.g. standing further forward on the T, or, leaning over to one side of the T more than usual), adding a sudden injection of pace can quickly knock them out of position.
Body shots can be another great tactic while adding power to knock your opponent out of position. If they're stood a bit further forward on the T and the ball comes directly toward them all of a sudden, it can become very tough to control.
Anyway, to sum up it's quite a simple tip really, however, please note that it shouldn't always be your go to. Generally, if you're under pressure, lifting and reducing the pace is the best way to recompose yourself and try to get back into the rally.
But, if your lob game isn't great, or, your opponent is handling it easily, then hitting them with a sudden change of pace is always worth a shot.
The goal is to add just enough pace to put pressure on your opponent and force them into errors or weak returns.
However, too much pace can backfire if the shot is uncontrolled, so it’s essential to balance power with at least some precision. Otherwise you risk making a mistake or giving away a stroke too.
But, by injecting pace accurately when appropriate, you turn a defensive situation into an opportunity, making your opponent's task more difficult while regaining the initiative in the rally.
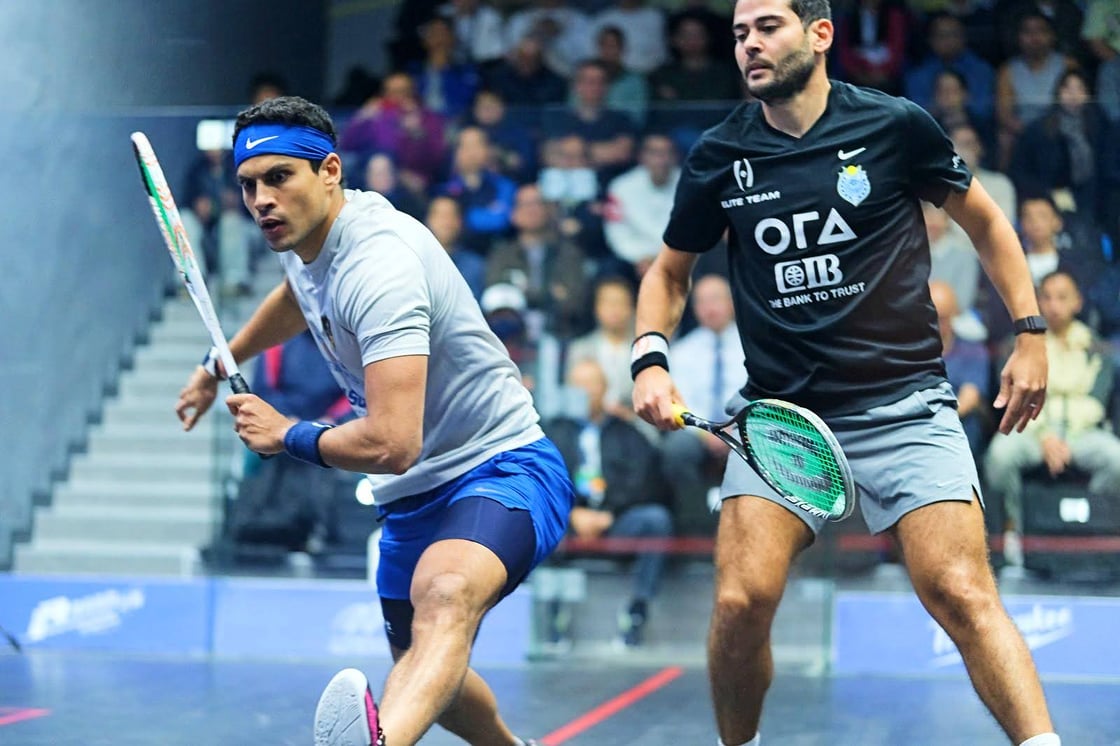
Image credit: Steve Cubbins
How The Pros Turn Defence Into Attack
Before I run through a few good drills, I thought I'd touch on some of the ways high-level squash players execute defensive play.
Professional players (and even advanced players) don’t just focus on surviving when under pressure, they constantly look for opportunities to counter and shift momentum.
It's a very mental thing for these players. Having the technical ability to defend and attack is one thing, however, doing them at the right time is what makes these players so effective.
This is often referred to as having a good 'squash IQ'.
It comes down to recognizing key moments, executing the right shots, and maintaining the right mindset.
Things like recognising when an opponent has overcommitted, is out of position, or starting to fatigue can all be indicators that it's time to counter defend.
However, in the earlier stages of a match when the opponent is fresh, or, if they seem to be on a hot streak of hitting target after target, it might be the right time to stay in defensive mode.
If they’ve played an aggressive shot and moved forward expecting a weak reply, a well-placed counter drop can immediately turn the tables, as we've discussed.
I'd say that I've noticed an increase in the use of counter drops in professional squash over time. It's almost become a bit of a trend, which must mean that it is a great way to turn your defense into an attack.
Lobbing and using height is another defensive skill that the pros are incredibly good at. Height is used a lot more frequently than you might think in professional matches.
The best players in the world such as Ali Farag, Paul Coll, and Nour El Sherbini are all superb at recognizing when they're under pressure and immediately lifting the ball again and again until they force their opponent into a weaker position.
The pros are able to trust their movement and shot execution, knowing that even in defensive situations, there are ways to apply pressure back onto their opponent.
It makes sense considering the unbelievable amount of work they put in, but, the pros are often very aware of their strengths and weaknesses, so, they can trust in the defensive shots they know they're good at to keep them in the rally.
Often, for more amateur level players, it's a little more about hitting and hoping and not really thinking about whether you're playing the right shot at the right time, but just lifting the ball because you're tired.
So, I'd say for the best players, recognizing the right time to stay defensive versus shifting to attack is an instinct built through experience.
However, it starts with an active approach, rather than just reacting, they’re always looking for the next opportunity to take control.
This comes with practice!
Drills to Improve Your Defensive Game
I thought I'd finish by quickly running through a few drills to work on your defensive game.
Defensive squash is practiced a lot less than offensive squash in my experience, and, I think that's something that should change!
Often, in training, players will do length rallies, then progress by adding in the ability to go for winning shots (attacking shots), and that'll be the basis of the session.
The drills below are pretty straight forward, however, they allow you to work on executing a good defensive game while under pressure from your opponent/training partner...
Working on your Lob
Again, starting with the most simple, one of the best ways to practice your lob game is to start with a basic boast lob routine.
One player at the back hits boasts, one player at the front hits lobs (either straight or cross court).
When lobbing, make sure to remember your targets and try to get the ball to die in the back corner so your partner struggles to dig another boast out.
Since you're only training, now is a great time to experiment with different heights, widths, and paces to see what works best.
Once you're warmed up and you feel as though our lob game is improving, you can make it a little more competitive by playing a front versus back game where the player at the back can hit any shot to the front of the court, however, the person at the front can only play straight or cross-court lobs to the back.
If your partner is good at drops and boasts, you'll be forced to maintain the accuracy of your lobs despite being under pressure (and most likely while fatigued too)!
Retrieving Tight Shots
Learning how to scrape tight shots off of the side wall is rarely practiced in squash, players generally just rely on swinging hard at the wall and hoping they make clean contact with the ball.
However, there are ways to get better at chipping the ball off of that side wall.
The main worry that players (understandably) have, is hitting or breaking their racquet by hitting the side wall too hard. That makes sense and racquets are expensive!
So, one simple exercise I used to do with beginners who were just getting a feel for the technical side of squash (back when I did a lot of coaching) was to give them broken racquets, get them to stand facing the side wall, and to just swing at the wall.
Since the racquets are broken, it doesn't matter if they hit the side wall hard.
The aim is to get the bumper of the racquet to lightly scrape that side wall, and, to do that more consistently with every shot.
You can often find broken racquets in the bin at your club, or, if you or someone you know breaks one, don't let them throw it out, it can be a great learning tool!
However, if you're playing a little bit of a higher standard than this, there's another great drill you can play with a partner to get used to scraping tight shots off of the side wall while under pressure.
One player stands about a step and a half (or two steps) behind the T line, and half a step on either the forehand or backhand side (depending on which side you're doing the drill on).
The other player stands a couple of steps in front of the T.
The player at the front is playing straight drives (ideally at a medium to high pace) and is trying to get the ball past the player at the back.
The player at the back has to play straight volley drops (or drops from the back if they do have to let the ball go past them due to tightness).
As the drill goes on, the player at the front's shots often get tighter and tighter, and, this gives the player at the back the ability to practice scraping powerful shots off of the side wall again and again while under pressure.
Make sure to swap every couple of minutes and have regular breaks as this one can get quite tiring!
Digging Balls Out of the Back Corners
One of the most important things you need to be able to do, to defend effectively from the back corners of the court is to figure out the proper technique and positioning to dig balls out consistently.
This is often quite a simple one to practice and it's less intense than the previous routine too!
Essentially, just a straight-length rally where every shot has to hit above the service line on the front wall can work wonders for figuring out how to dig balls out of the back corners.
Primarily for shots that hit the floor and then the back wall, make sure to get down low and even move your hand a little further up the grip so you can get underneath the ball and flick it out
You can also do this on your own if you don't have a training partner, however, this makes it trickier to practice the proper movement patterns to and from the ball.
Anyway, this is a great way to incrementally get better at digging balls out and lifting them straight to get your opponent into the back corner instead, however, if you want to up the pace and practice your defending under pressure, then you can make one player the attacker and one player the defender.
The attacker can essentially hit anywhere on the front wall (meaning that they can inject pace if they want to), then the defender still has to lift everything above the service line.
Play to five points then swap.
Briefly touching on the cross court digs out of the back corner too, one great routine is to play a straight length back to yourself that lands deep in the back corner (almost like a feed), then, you lift the ball cross court deep into your training partner's side of the court.
They then hit the straight feed shot back to themselves and hit the crosscourt over to you.
It's great for figuring out angles, height, and power while getting low and underneath the ball to dig it out of the back corner.
Counter-Dropping Under Pressure
This last one is short and sweet.
To practice your counter drops under pressure, there are a bunch of different routines to choose from. An easier one to start with is literally having both players in the front corner playing straight counter drop rallies with each other.
To add the pressure element, you could have player A hitting a boast, player B hitting a drop, player A moving in and countering the dop, then player B hitting a straight lob.
So, it goes boast, drop, drop, straight lob.
However, that one can get pretty tiring, so, whoever is hitting the first drop and the straight lob can act as more of a feeder, meaning that they're not trying to 'win', but still keeping the other player under enough pressure to practice their defense.
I hope that makes sense!
Anyway, that concludes this article, hopefully it's helpful to you and thank you for taking the time to read.
This article was taken from our On The 'T' Newsletter, if you're interested in receiving more content like this, please feel free to sign up using the subscribe section located at the bottom left of this page (or underneath the article if you're on mobile), thanks!